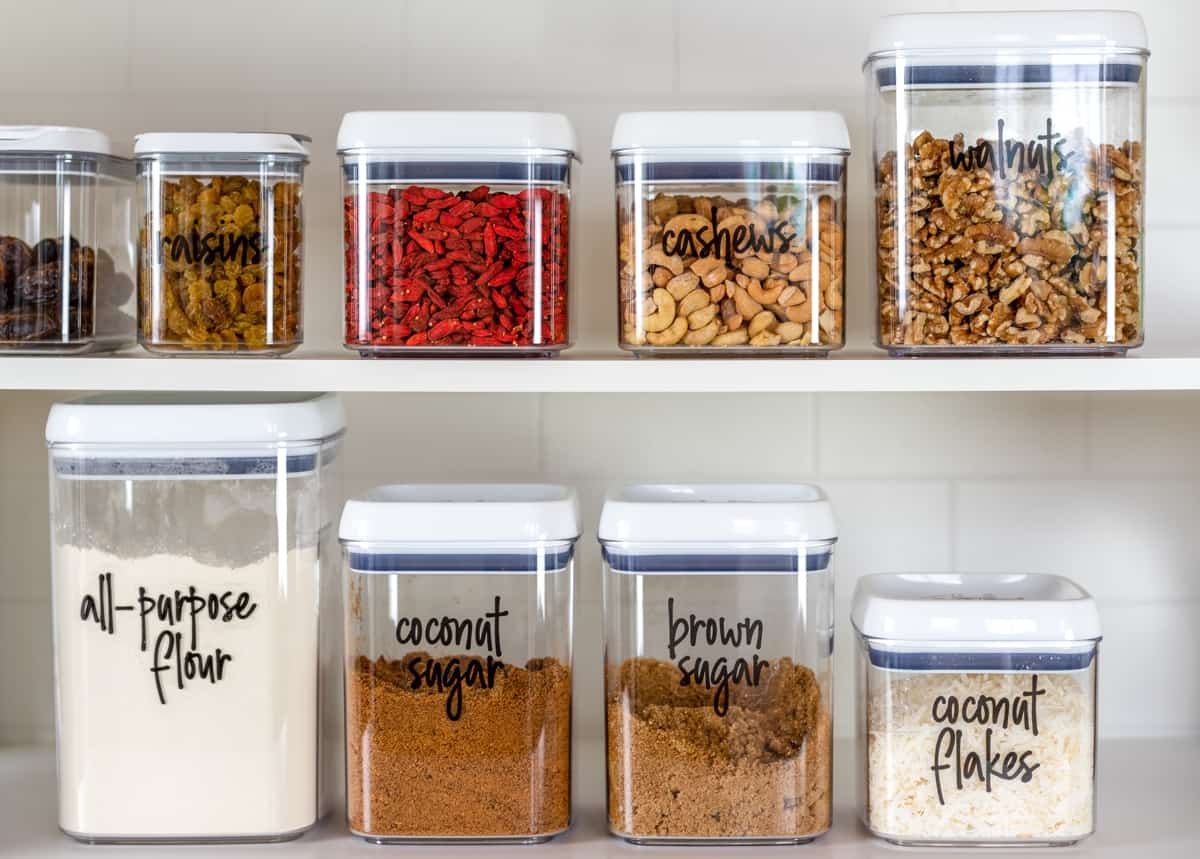
An organized pantry can help with shopping and menu planning. A quick peek should tell you what you have space for and what you need.
Once your pantry organization techniques have been implemented, you’ll find it’s pretty easy to keep it neat and tidy. From a large walk-in space to a smaller area, here are some tips to get your pantry organized.

1. Clean Your Pantry
Like your refrigerator and freezer, the first step in getting organized is to remove everything and give the space a good cleaning. Start at the top and work your way down with a thorough wipe-down. This might be a good time to repaint your shelves or add shelf liners. If you’re feeling super ambitious, you can even paint or wallpaper the walls.
2. Take Inventory
While everything is out of your pantry, start grouping items into categories. This will help to make the next step easier. Keep an eye out for expired items and discard them
3. Create Zones
Assign zones in your pantry based on the categories you created in the previous step. Creating these zones based on types of food (e.g. snacks, canned food, baking supplies, grains, condiments, etc.) will make it easier to find exactly what you need in the future.
4. Invest In Storage Solutions
Clear storage solutions will help you easily see what you have. You can transfer dried goods like grains, flours and seeds to airtight storage containers. Loose items like spices, cans, bottles and jars can be grouped in clear plastic trays. Bins and baskets can help you wrangle smaller items. Make use of corners with single and tiered turntables.
5. Add Racks
Wire racks can be a great way to maximize your pantry space, while reducing the need to reshuffle items. There are wire racks that go on top of shelved and those that can hang underneath shelves. Choose the solution that works for you and your space.
6. Create Labels
Every zone and storage container should be labeled. Be sure to add the expiration date to anything you transferred from its original packaging to a storage container.
7. Reload Your Pantry
Add items to their designated zones. Arrange containers on shelves so that taller items are in the back and shorter items are in the front. Note expiration dates and place items that need to be used earlier towards the front.


